

When I lived in Boston, I used to make a different Korean dish once a week…since living on the west coast I haven’t been as diligent…let’s try and make 2018 different 🙂 And maybe not necessarily Korean food, but just something totally different that I don’t make often.
Today, I want share a really easy kimchi recipe, learned it from my mom with some changes…mainly because…if you think I’m bad with measurements, my mom is 1000 times worse. I love her…but yeah…most of the time she just holds up her hand and points to it and goes…”you know…this much”
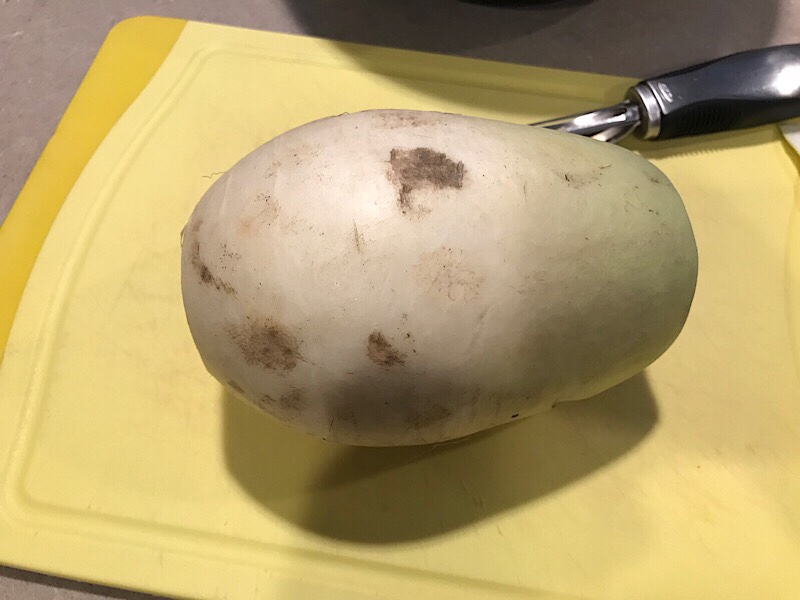
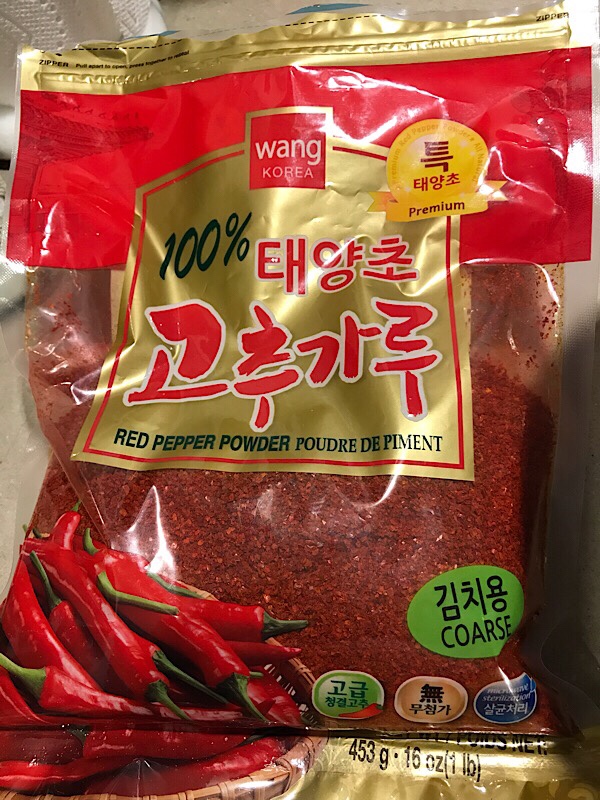
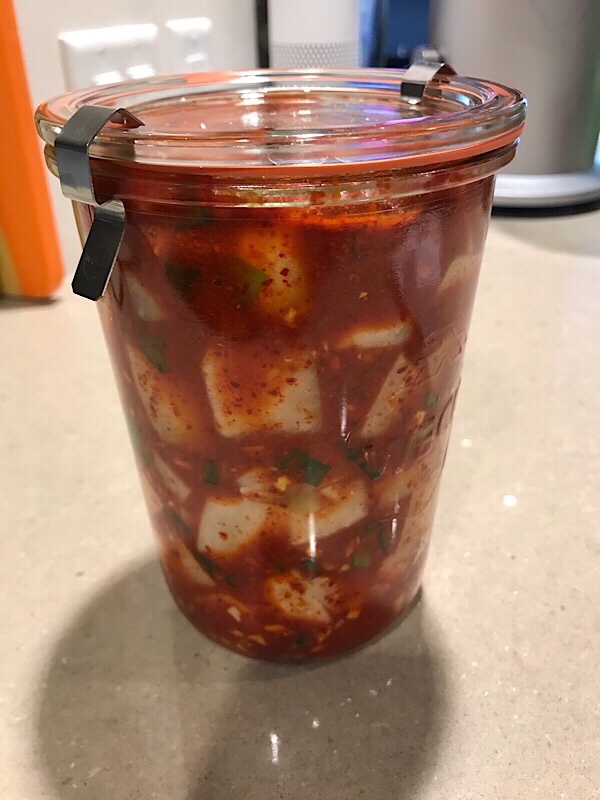
This kimchi is called kkakdugi and is made with Korean radish. I’m going to share some photos up front because if you aren’t familiar with Korean ingredients it’s nice to see it before I get into the instructions.
Radish Kimchi
Ingredients
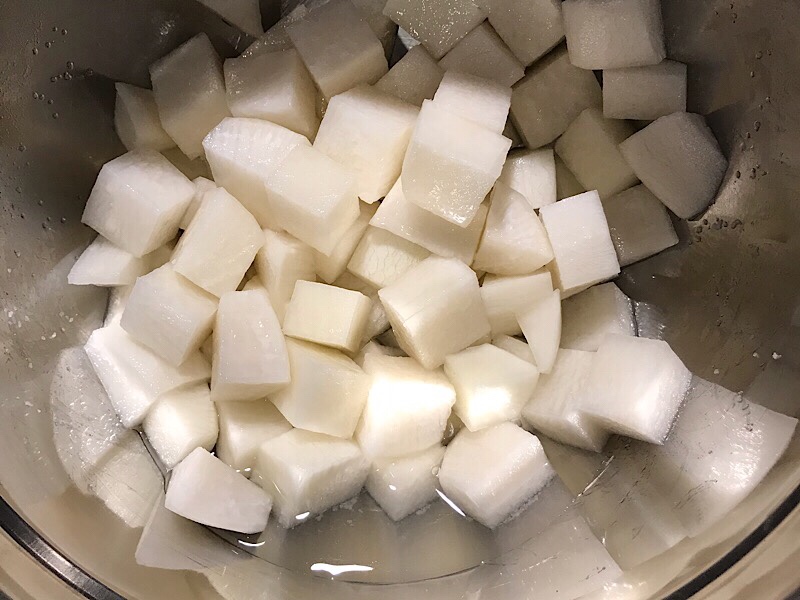
- 2lbs of Korean radish (if only 1lb, just half everything, obviously)
- 1 tablespoon of coarse salt
- 1 tablespoon of sugar
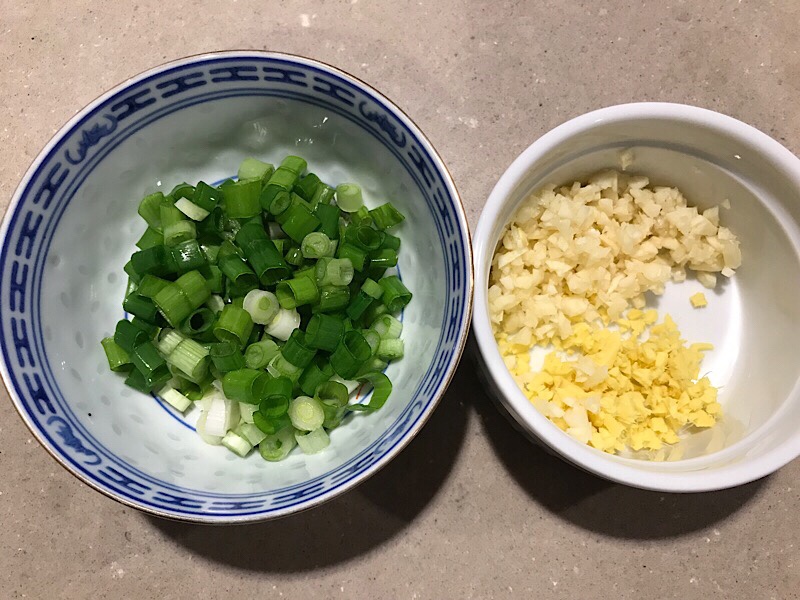
- 3 stalks of green onions, chopped
- 5 garlic cloves, chopped
- 1 inch of ginger, chopped
- 1 tablespoon of fish sauce
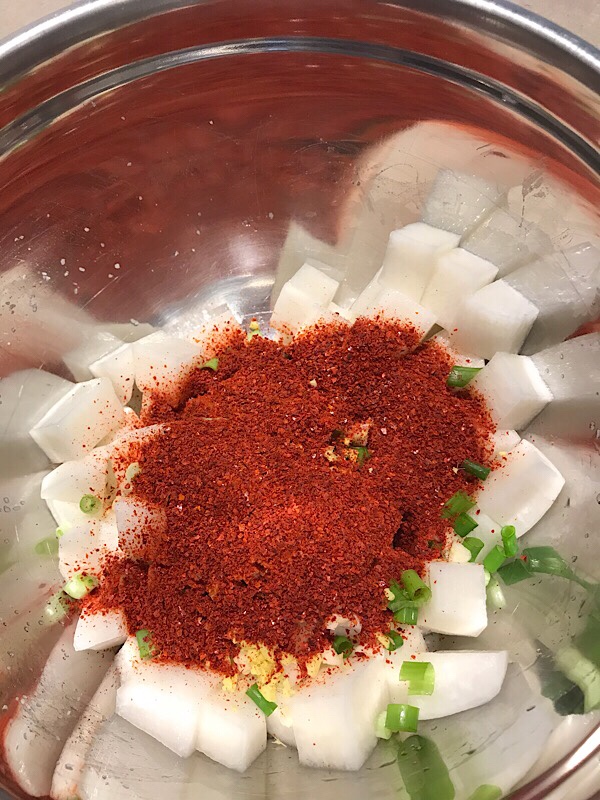
- 1/4 cup (or less if you don’t want it too spicy) of pepper flakes
Directions
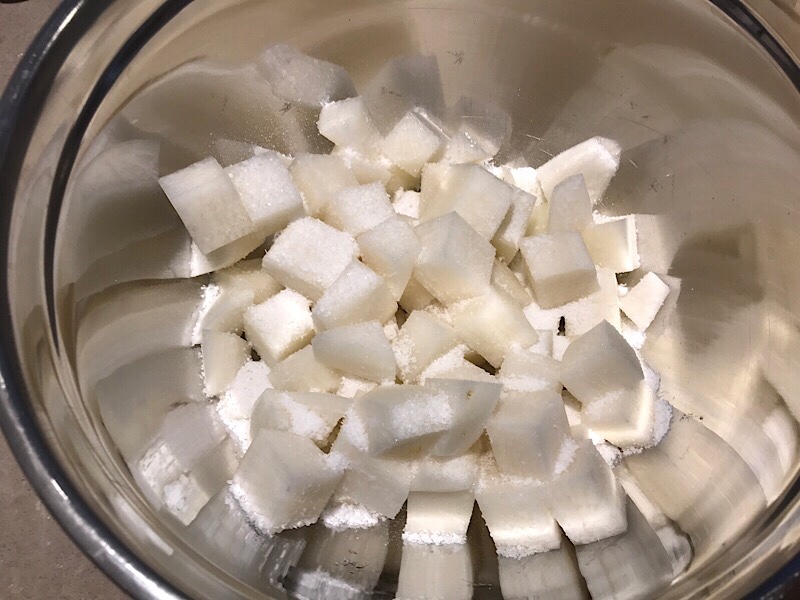
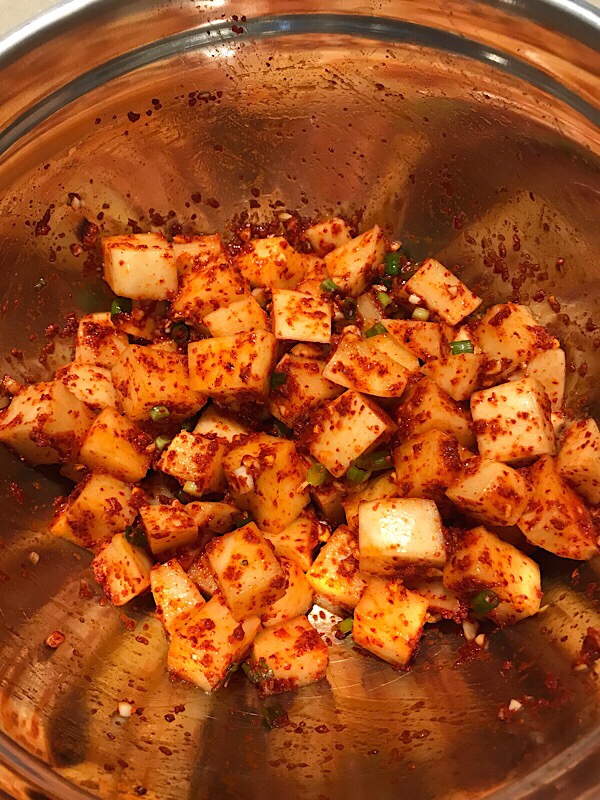
- Peel the radish, rinse, then pat it dry. Cube the radishes, into about 1″ cubes, see the pictures below on how to do it.
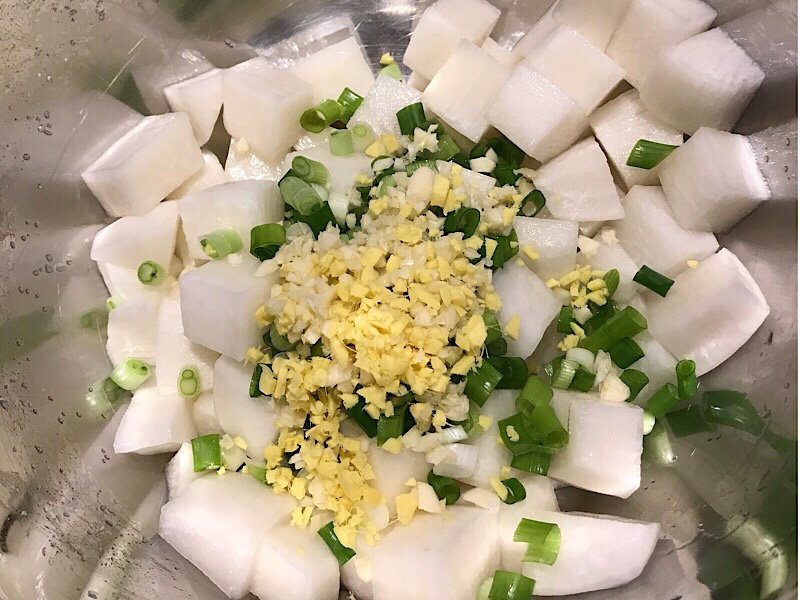
- Put radish into a large mixing bowl then top it off with salt and sugar and mix it together so that all cubes of the radish are covered. Put this aside and let it sit for 45 minutes to let the salt get the water out of the radish.
- After 45 minutes, add the garlic, ginger, green onion, fish sauce, and pepper to the radishes and mix together.
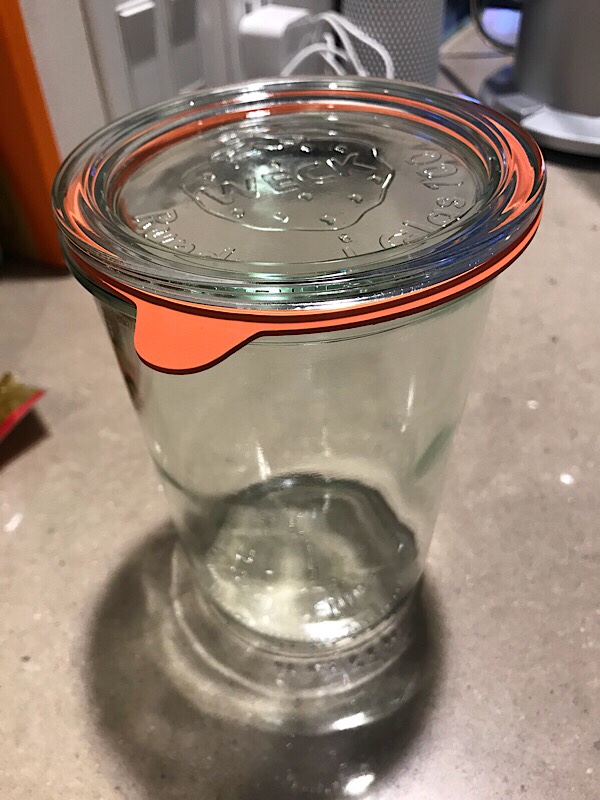
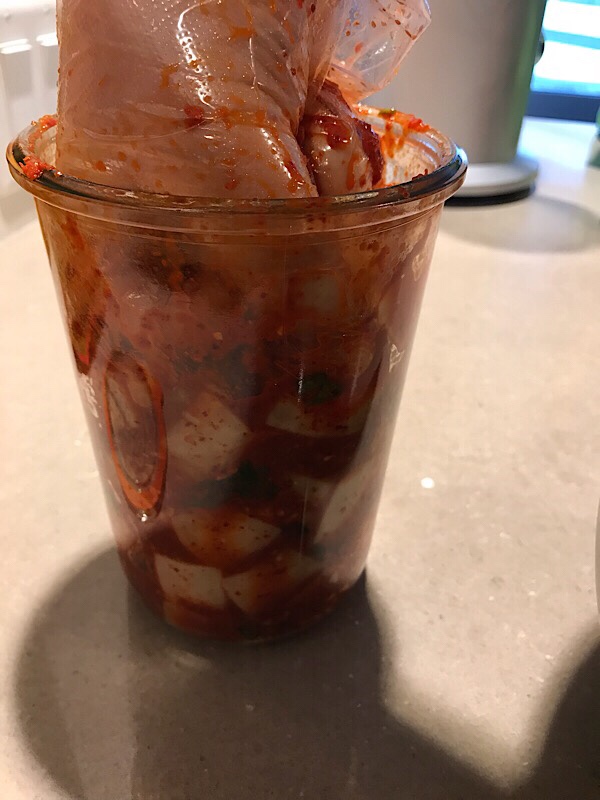
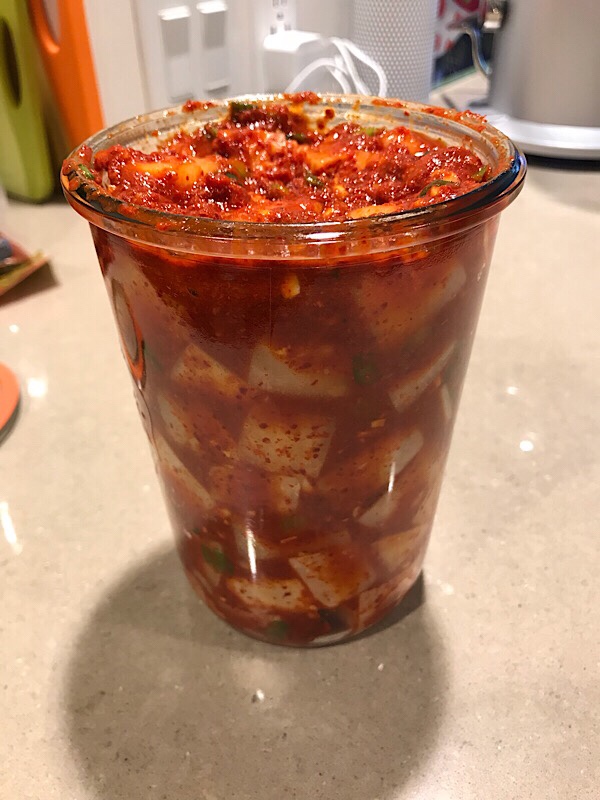
- Now take the mixed up kimchi and put it into a glass container. I take a handful of the kimchi, put it in the container and push it down…you want to get as much air out of the container as possible while it ferments. After you have filled the container, push it all down again and seal it tightly and let it sit on your counter for 1-2 days. Then put it in the fridge.
Notes
- The more often you have made this or if you’ve eaten this frequently, you can taste or smell it and check if it’s ready. For me, it takes about 2 days before it gets to where I like it.


Reblogged this on mamabatesmotel.
LikeLiked by 1 person